Adjusting field positioning
Reordering fields
|
1.
|
Highlight the field you want to move. |
|
2.
|
Select Field functions > Reorder fields. |
The field is now enclosed in square brackets ([ ]). (To see the close bracket, scroll to the right.)
|
3.
|
Use the Up and Down Arrow keys to move the field up or down in the list. |
|
4.
|
When the field is where you want it, select Reorder fields again. |
The field’s location also changes in the report layout at the bottom of the screen.
Modifying a field’s horizontal position
When you select a field to print, ReportWriter places it two spaces away from the previous field by default. You can modify this default positioning and even overlap fields, if you wish.
|
1.
|
Highlight the field you want to reposition in the Print Fields list. |
|
2.
|
Select Field functions > Arrange field position. |
A ruler displays at the top of the layout window and the header line for the detail record line is shown. If you have modified the page header, this header line remains fixed as you reposition the field.
|
3.
|
Press the Left Arrow key to move the field to the left and the Right Arrow key to move the field to the right. As a field moves, all fields that follow that field also move. |
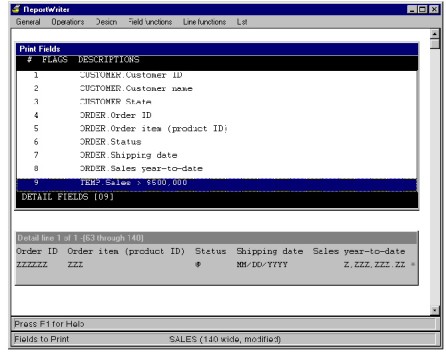
In figure 1, we modified the position of the Sales > $500,000 text field (which is simply an asterisk flag) to be one character away from the Sales year-to-date field. Note that we also removed the header for this field.
|
4.
|
Press the Exit shortcut to exit field positioning mode. |
Stripping a field’s trailing blanks
ReportWriter can automatically strip trailing blanks from a field, which can bring the next field closer. For example, you might want to strip blank spaces after a city name so the state code will immediately follow the city name.

|
Blank stripping only affects the field immediately following the stripped field; all subsequent fields are printed in their original locations. Blank stripping does not affect field headers.
|
|
1.
|
In the Print Fields list highlight the field from which you wish to strip trailing blanks. |
|
2.
|
Select Field functions > Strip trailing blanks. An input window is displayed. |
|
3.
|
At the Strip character prompt, enter the character that you want to follow the blank-stripped field. |
For example, if you want to close up the space between a city and its state code, you’d probably want your strip character to be a comma (,) since a comma usually appears between city and state. The default strip character is one blank space.
The strip character you entered appears in the layout window after the stripped field, and a letter S displays in the FLAGS column for that field in the Print Fields list. If your strip character is non-blank, all trailing blanks are replaced with one occurrence of the specified strip character and an additional space in your report.
The Strip trailing blanks menu entry is a toggle; select it a second time to turn off blank stripping.